Rear
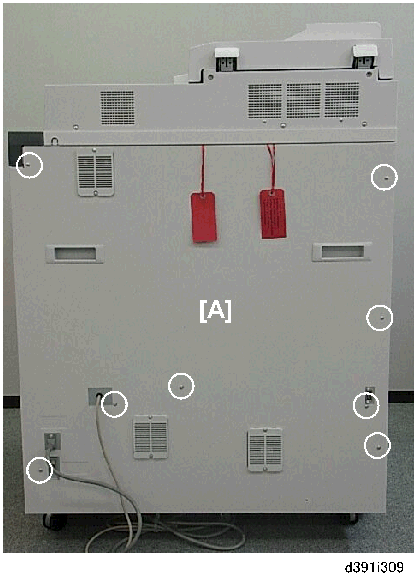
- Remove the rear cover [A] (
x8)
- Remove the rear upper cover [A] (
- Remove the tape and cushion [A].
- Remove:
[A] Brace, tag (
[B] Brace, tag (
[C] Brace, tag ( - Mark the removed braces "G", "A", "B" as shown.
Front
- Open the right front door [A] then the left front door [B].
- On the left door [A], remove the top hinge [B] and the bottom hinge [C].
- While holding the left front door with one hand, behind the top hinge [B], push the black lever [1] in the direction of the arrow to release the top hinge.
- Swing the top hinge [2] out slightly.
- While still supporting the left door with one hand, repeat the procedure to remove the bottom hinge [C].
- Remove the left door [A].
- Repeat Step 2 to remove the top hinge [A] and the bottom hinge [B], then remove the right front door [C]. (You may have to lower lever Mk11 so that you can remove the right door.)
- Remove the strips of tape and cushions from the jam release levers (x5):
[A] Mk7, Mk8
[B] Mk12
[C] Mk13, Mk14 - Raise lever Mk12 [A].
- Remove the screws of the upper inner cover on the left side [A] and the right side [B] (
- Release the jam release levers [C] and [D], then hold them in the released position as you remove the upper inner cover.
Rear
- At the left rear corner, push the book stack release lever [A] completely to the right to release the book stacking tray.
Front
- Pull out the book stacking tray [A] and trimmings box [B] together.
- Remove the strips of tape and the cushions.
Remove:
[A] Tape, cushion
[B] Jam clear knob Mk10.- Mk10 must be reattached at the end of installation.
- Remove the screws of the lower inner cover [A] (
- Raise the jam clear levers [B] and [C] as you remove the cover [A].
- Return the jam clear levers [B] and [C] to their original positions.