To prevent injury from electrical shock or damage to the machine, before installation, always turn the main machine power off, and then unplug the machine power supply cord from the power source.

Two installation methods are described below.
- Installation Procedure (1) is more convenient as the USB cable exposed (recommended).
- If the customer prefers a tidy appearance, follow this alternate Installation Procedure (2) to conceal the USB cable inside the machine (Installation Procedure (2): USB Cable Inside the Machine).
Open the SPDF.
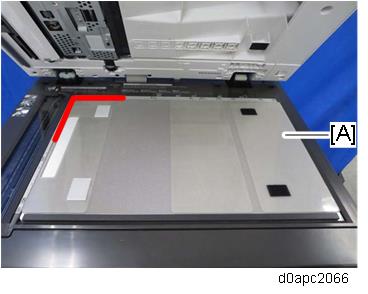
Remove the platen sheet [A]. Do not place the removed platen sheet on the exposure glass.

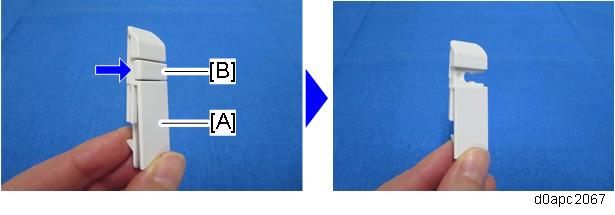
Release the tab [A] to remove the SPDF bottom cover [B].
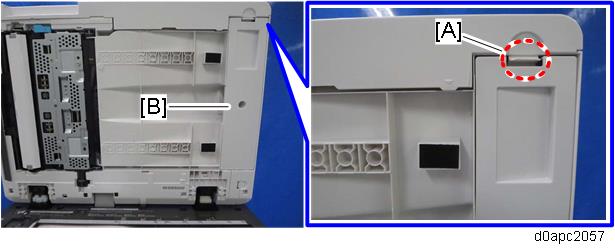
Release the tab [A] to remove the harness cover [B].

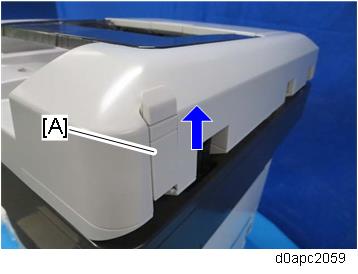
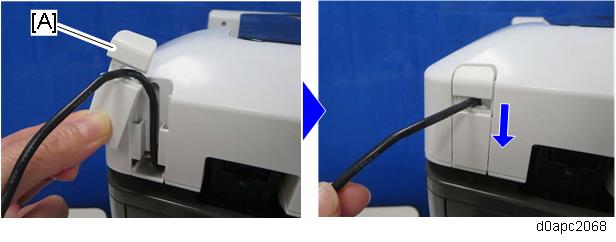
At the back of the SPDF, slide the small cover [A] up and remove it.
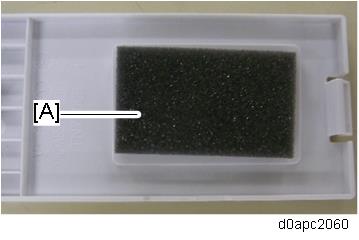
If the thickness of the NFC card reader is 15.4 mm or less, set cushion [A] into the hole on the SPDF bottom cover. (The cushion is provided as an accessory with this option.)
Attach the double-sided tapes [A] on the bottom of the SPDF beside the projection [B] as shown.
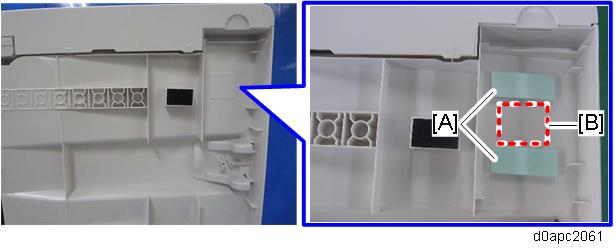
Peel the double-sided tapes [A].
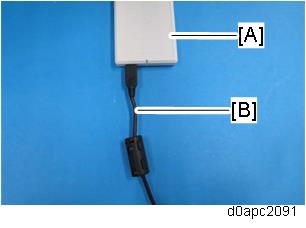
Connect the USB cable [B] with the ferrite core to the NFC card reader [A].
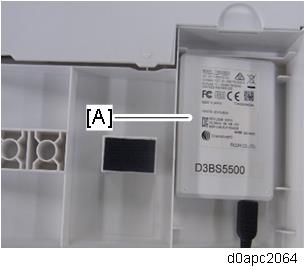
Firmly fasten the NFC card reader [A] to the SPDF.
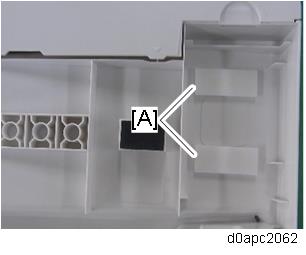
Route the USB cable [A] between the tabs as shown below.
Attach the SPDF bottom cover to the SPDF.
Attach the harness cover to the SPDF.
Using the rear, left corner as a reference point set the platen sheet [A] on the exposure glass.
Close the SPDF to attach the platen sheet.
From small cover [A] remove knock-out [B] to create a slot.
Pass the USB cable through the hole, and then attach the small cover [A].
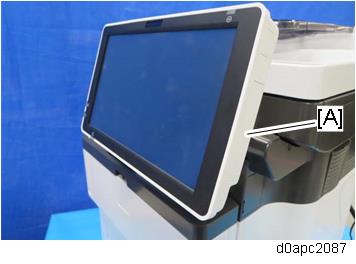
Remove the side cover [A] of the operation panel.
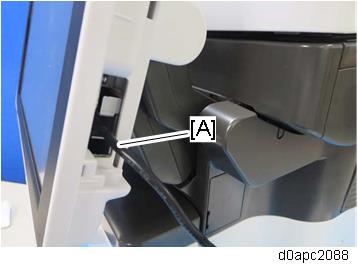
Connect the USB cable [A] to the operation panel.
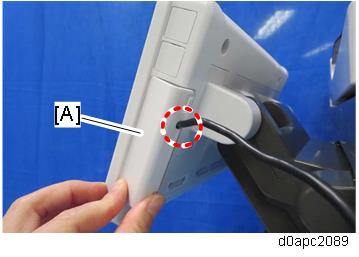
Pass the USB cable through the hole, and then attach the side cover [A] of the operation panel.
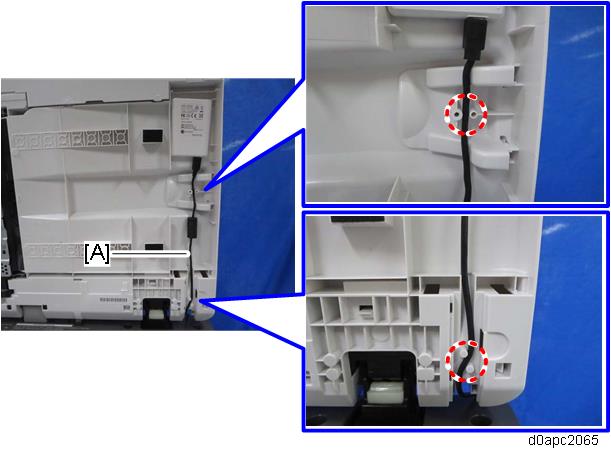
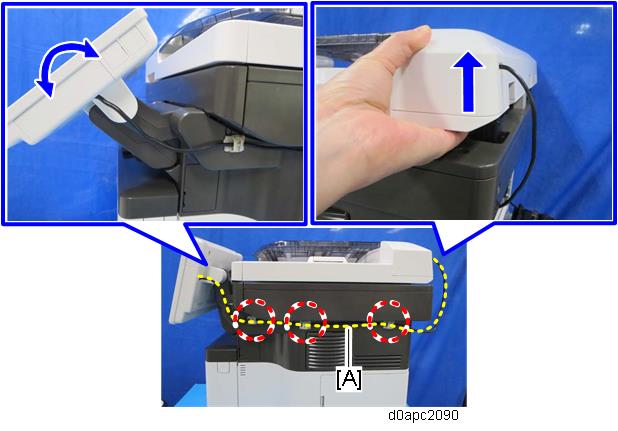
- Put the three clamps on the right cover, and then fasten the USB cable [A] with them as shown below.
Carefully, move the operation panel slowly up and down, and then lift the scanner at the rear, to make sure there is no tension on the USB cable.
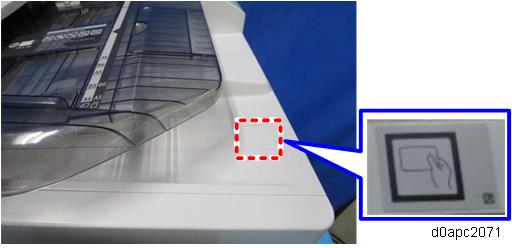
Attach the decal as shown below.