- Remove the scanner unit. (Scanner Unit)
- Remove the controller box. (Controller Box (IM 550F/600F/600SRF))
- Remove the following covers.
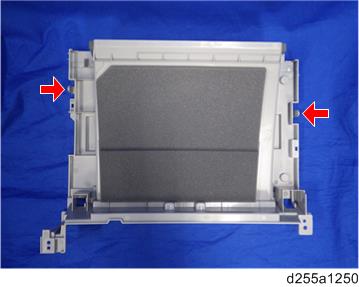
- Left lower cover (Left Lower Cover)
- Paper exit cover (Paper Exit Cover (IM 550F/600F Only))
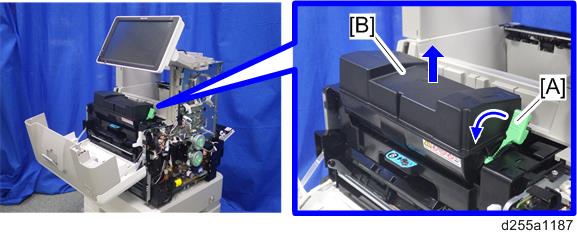
- Release the lock lever [A] by rotating it towards you, and then remove the toner cartridge [B].
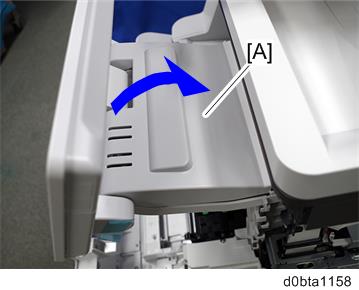
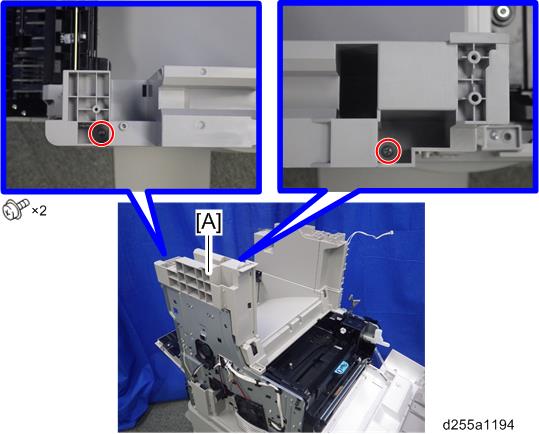
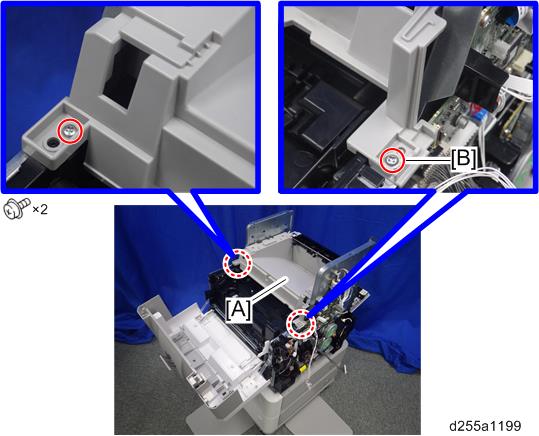
- Release the two hooks from the operation panel arm upper cover [A].
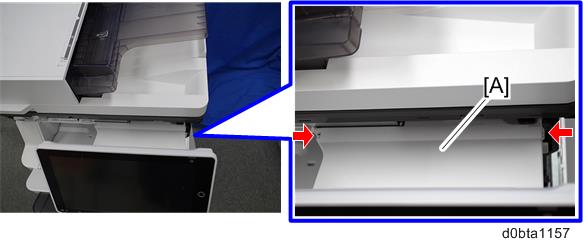
Remove the operation panel arm upper cover [B].

- Be careful not to damage the hooks on the inside of the operation panel arm upper cover when you remove or install the operation panel arm upper cover.
- Be careful not to damage the hooks on the inside of the operation panel arm upper cover when you remove or install the operation panel arm upper cover.
- Release the USB cable [A] and harness [B] of the operation panel from the harness guides.

- Remove the operation panel unit with the bracket [A].
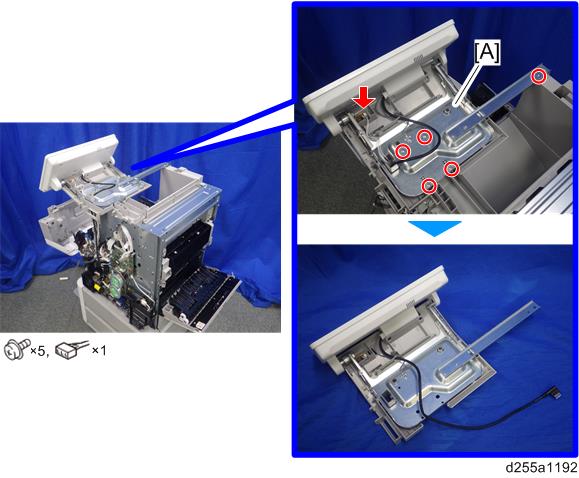
Remove the bracket [A].
- The screw [B] is a sems screw. Be careful not to use the wrong screw when installing the paper exit tray.
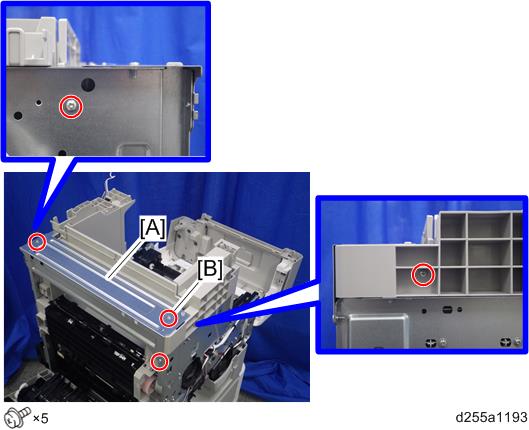
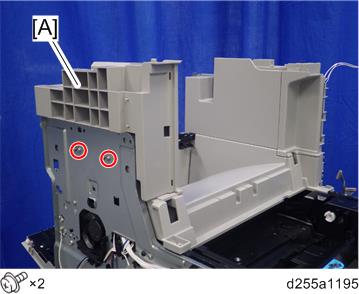
- Remove the two screws from the left side cover [A].
Remove the left side cover [A].
- These two screws are tapping screws. Be careful not to use the wrong screws when installing the paper exit tray.
- Remove the front right cover [A].
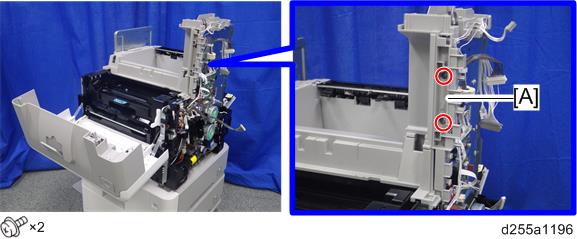
- Remove the two screws from the right side cover [A].
Remove the right side cover [A].
- These two screws are tapping screws. Be careful not to use the wrong screws when installing the paper exit tray.
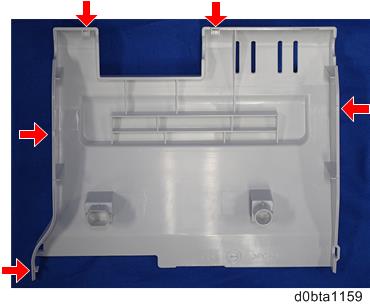
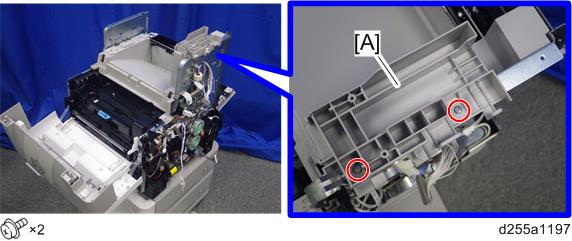
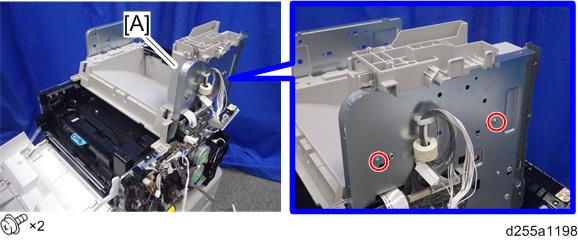
Remove the paper exit tray [A].
- The screw [B] is a sems screw. Be careful not to use the wrong screw when installing the paper exit tray.
- Be careful not to damage the hooks on the inside of the paper exit tray when you remove or install the paper exit tray.