Symptom
The machine sometimes gives off an unpleasant, chemical smell.
Solution
Install the smell reduction fan (FAN5).
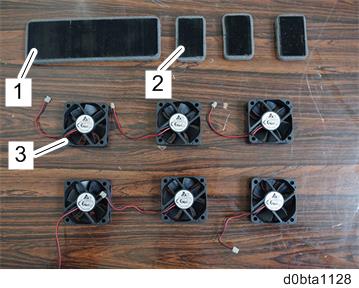
Accessory Check
| No. | Description | Q'ty |
|---|---|---|
| 1 | Filter (large) | 1 |
| 2 | Filters (small) | 3 |
| 3 | Fans | 6 |
Installation Procedure
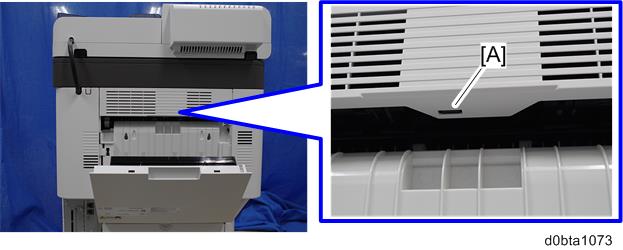
- Open the finisher rear cover [A].

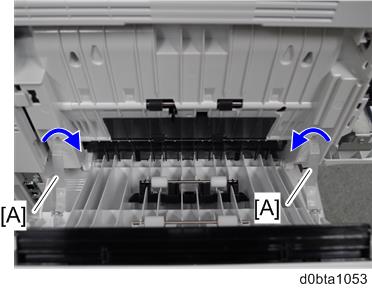
- Release the belts [A] from the mainframe by twisting the ends.
- Remove the cover [A] by inserting a flathead screwdriver into [B].

- Release the hook [A].
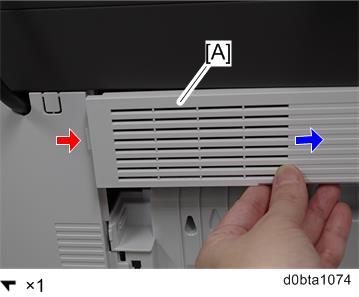
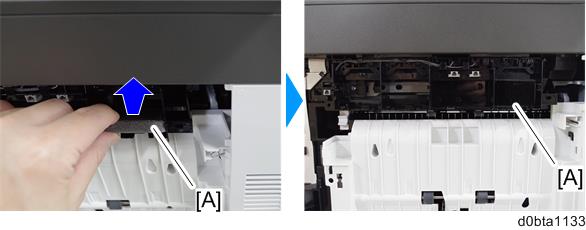
- Slide the cover [A] to release the hook, and then remove the cover [A].
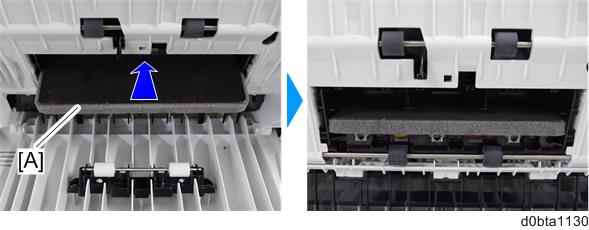
- Insert the filter (large) [A] into the slot.
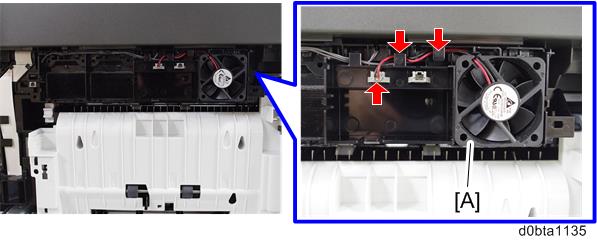
- Insert the fan [A] into the slot with the label facing upward, and then connect the connector and pass the cables through the harness guide.

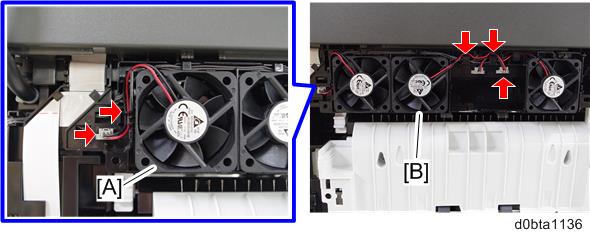
Install the fans [A] and [B] in the same way.

The labels of these fans must also face upward.

Insert the filter (small) [A] into the slot.
Install the filters [A] and [B] in the same way.

Insert the fan [A] into the slot with the label facing outward, and then connect the connector and pass the cables through the harness guides.
Install the fans [A] and [B] in the same way.
Reattach the covers.

By default, the smell reduction fan (FAN5) stops operating 15 seconds after printing operation finishes. If further smell reduction is necessary, use SP3-906-001 to configure the time it takes for the fan to stop.
- SP3-906-001 (Range: 15 - 240 (seconds), default: 15)