The Auto Erase Memory function can be enabled by the following procedure.
- Log in as the machine administrator from the operation panel.
- Press the [Settings] icon.
- Press [Machine Features Settings].
- Press [System Settings].
- Press [Administrator Tools].
- Press [Auto Erase Memory Setting].
Press [On].
Select the method of overwriting.
If you select [NSA] or [DoD], proceed to step 11.
If you select [Random Numbers], proceed to step 9.Press [Change].
Enter the number of times that you want to overwrite using the number keys, and then press [#].
Press [OK]. Auto Erase Memory is set.
Log out.
Check the display and make sure that the Data Overwrite icon appears.
When Auto Erase Memory is enabled, the Data Overwrite icon will be indicated in the bottom left of the panel display.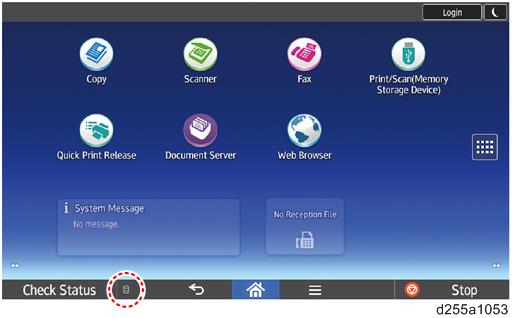
Icon
Icon name
Explanation

Dirty
This icon is displayed when there is temporary data to be overwritten, and flashes during overwriting.

Clear
This icon is displayed when there is no temporary data to be overwritten.