
- When installing this option, turn OFF the main power and unplug the power cord from the wall socket. If installing without turning OFF the main power, an electric shock or a malfunction may occur.

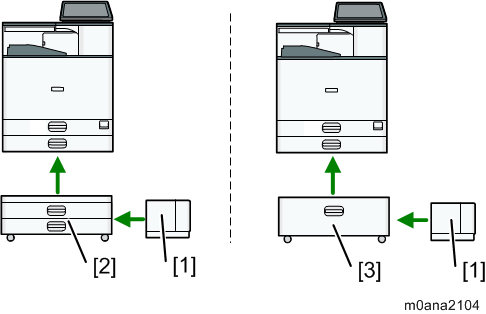
LCIT RT3030 [1] can be connected to Paper Feed Unit PB3240 [2] or LCIT PB3260 [3] only in one of the following two combinations.
- Remove the orange tape and retainers.
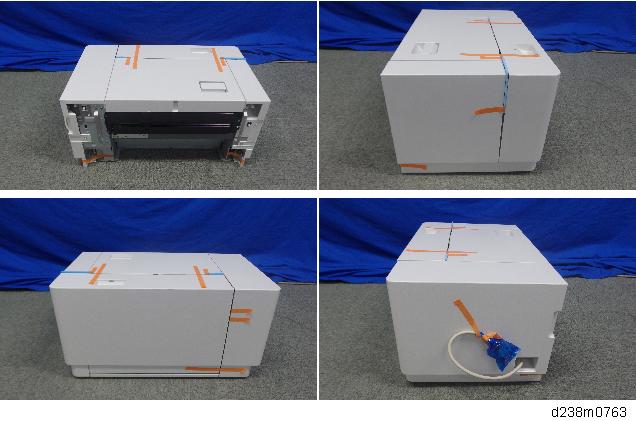
- Remove the accessories (stud screws, etc.) from the package.
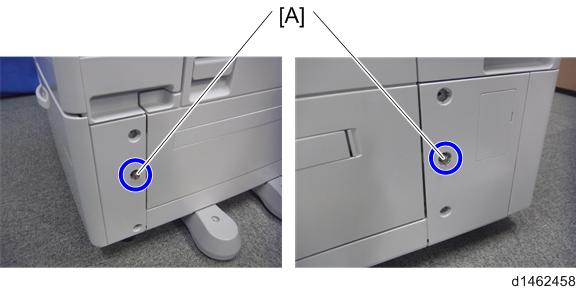
Remove the eight covers on the right of the paper feed unit of the machine.
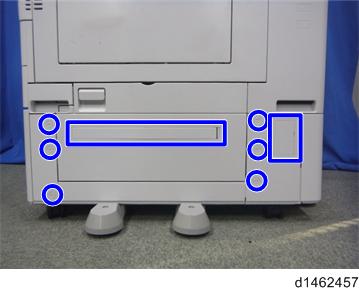
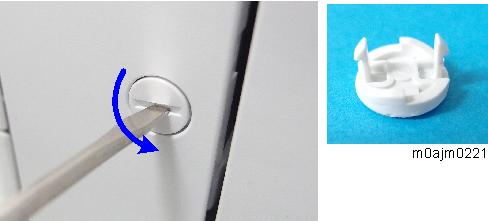
Insert the flat-headed screwdriver into the cover and push and turn the driver counterclockwise to remove it.
- Attach the joint pins [A] to the front and rear on the right of the paper feed unit.
- Attach the front bracket [A] and rear bracket [B] at the positions of the joint pins (Stud screw:
 ×4).
×4).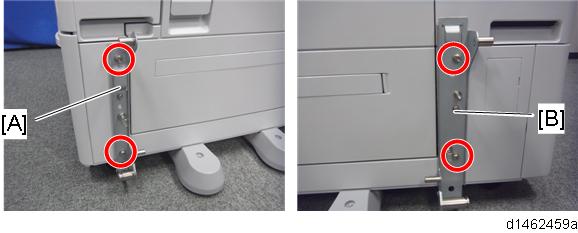
- Remove the rear cover [A] of the paper feed unit.(×2).
- Connect the harness.
For a machine with LCIT PB3260
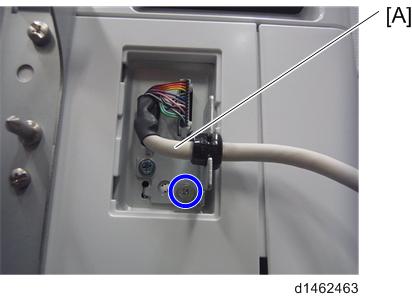
Remove the connection cover [A], and connect the harness [B].
For a machine with Paper Feed Unit PB3240
Connect the harness [A].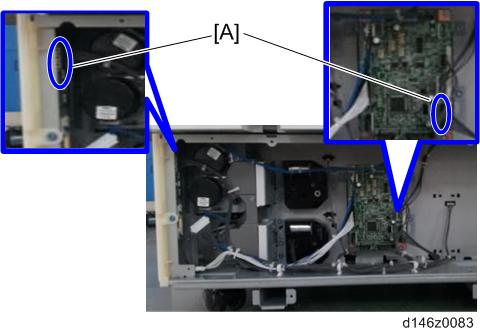
- Clamp the harness.
For a machine with LCIT PB3260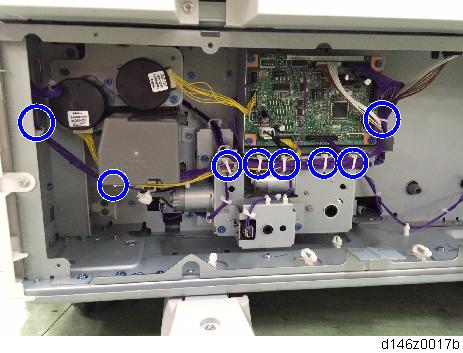
For a machine with Paper Feed Unit PB3240
- Attach the rear cover [A] of the paper feed unit.(×2)
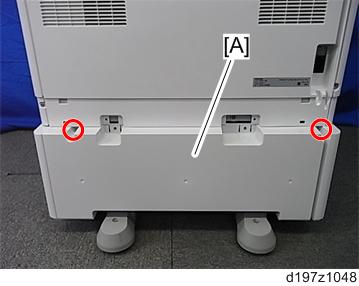
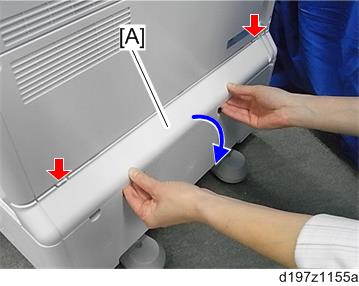
- Attach the rear lower gap cover [A].
- Attach the hooks of the side LCIT to the brackets.
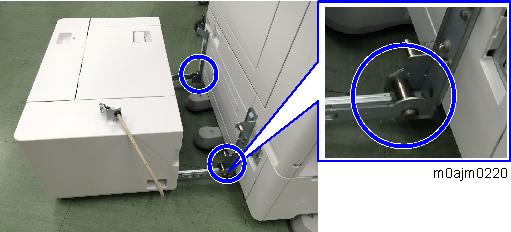
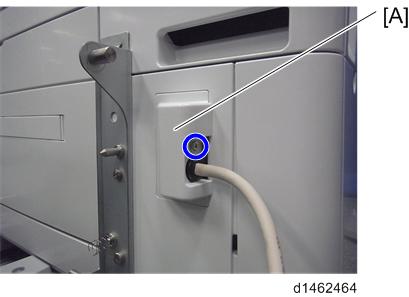
- Connect the cable [A] of the side LCIT to the machine (×1).
- Attach the connector cover [A] (×1).
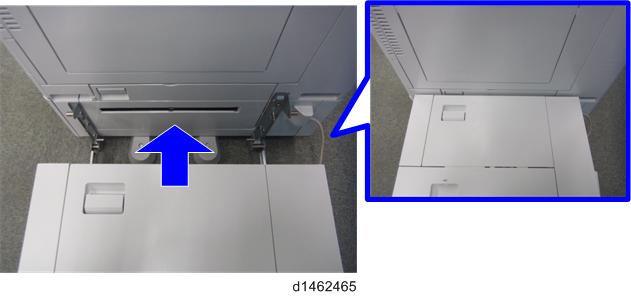
- Push the side LCIT towards the machine.
- Turn on the main power.
- Set the paper, and check that the paper size set in the paper feed tray is displayed on the control unit.
- Do the registration adjustment for the large capacity tray.
SP1-002-007 (Side-to-Side Registration Large Capacity Tray)
SP descriptions
- SP1-002 (Side-to-Side Registration)
Adjusts the side-to-side registration by changing the laser main scan start position for each mode and tray.
Increasing a value: The image is moved towards the rear edge of the paper.
Decreasing a value: The image is moved towards the front edge of the paper.