- Remove the controller box cover. (Speaker)
- Remove the bracket with the FCU board. (FCU Board)
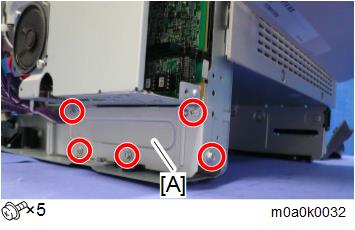
- Remove the lower cover [A].
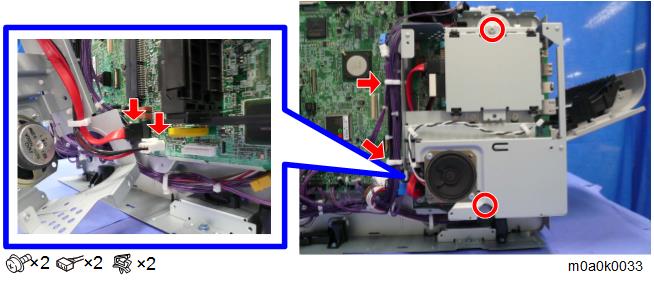
Remove the controller box.
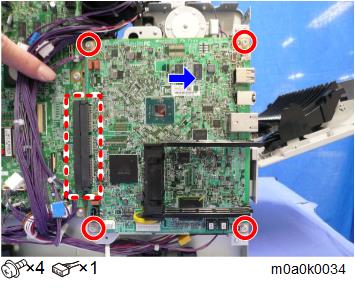
- Detach the controller board [A] by sliding it to the right.
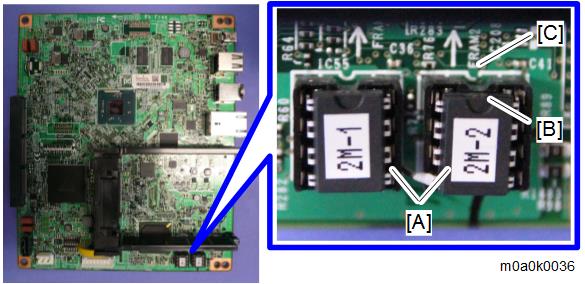
Remove the NVRAM [C], the upper brace [A] and the lower brace [B].
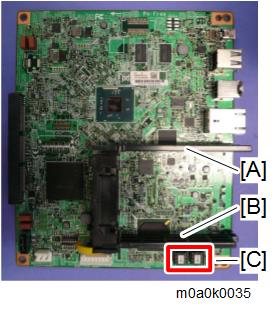

- Before removing the NVRAM, back up data.
- Install the NVRAM so that the indentation [B] on the NVRAM [A] is facing the indentation mark [C] on the controller board. If they are not installed correctly, the controller board and NVRAM may be damaged.
- Before replacing the controller board, check which ESA applications have been installed. After replacing the controller board, re-install the ESA applications by following the installation instructions for each application.
- After reinstalling the ESA applications, print the SMC (SP-5-990-024/025 (SMC: SDK/ Application Info)).
- If you have replaced the controller board, set the DIP switches on the new controller board to the same settings as the old board.