The Auto Erase Memory function can be enabled by the following procedure.
- Log in as the machine administrator from the control panel.
- Press [System Settings].
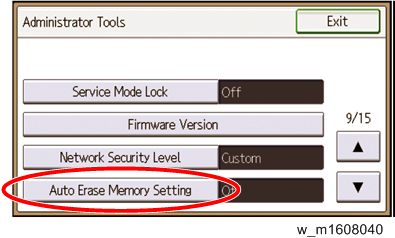
- Press [Administrator Tools].
- Press [
 ] to display Page 9.
- Press [Auto Erase Memory Setting].
- Press [On].
- Select the method of overwriting.
If you select [NSA] or [DoD], proceed to step 10.
If you select [Random Numbers], proceed to step 8. - Enter the number of times that you want to overwrite using the number keys, and then press [#].
- Press [OK]. Auto Erase Memory is set.
- Log out.
- Check the display and make sure that the overwrite erase icon appears.
- Check the overwrite erase icon.
The icon [1] is lit when there is temporary data to be overwritten, and blinks during overwriting.
The icon [2] is lit when there is no temporary data to be overwritten.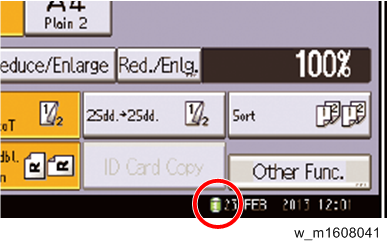

Icon [1]
This icon is lit when there is temporary data to be overwritten, and blinks during overwriting.

Icon [2]
This icon is lit when there is no temporary data to be overwritten.