- When installing this option, turn OFF the main power and unplug the power cord from the wall socket. If installing without turning OFF the main power, an electric shock or a malfunction may occur.
- The internal shift tray cannot be used together with the following peripherals:
- Side Tray Type M3 (D725)
- Internal Finisher SR 3180 (D766)
- Internal Finisher SR 3130 (D690)
- Bridge Unit BU3070 (D685)
- Internal Multi-fold Unit FD3000 (M482-17, -21)
- To use together with the "1 Bin Tray BN3110 (D3CQ)", attach the "1 Bin Tray BN3110 (D3CQ)" first before installing the internal shift tray.
- Remove the orange tapes, shipping retainers, and provided accessories (fixing screws, etc.).
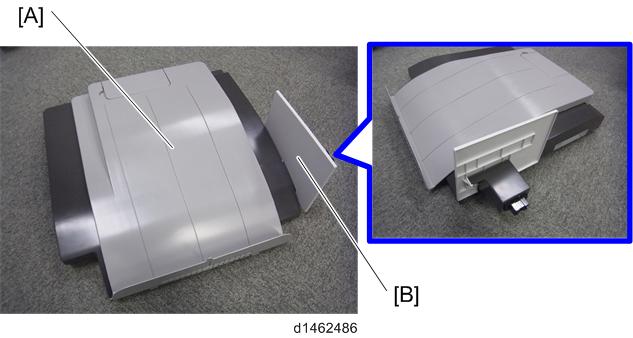
- Attach the tray cover [B] to the shift tray [A].
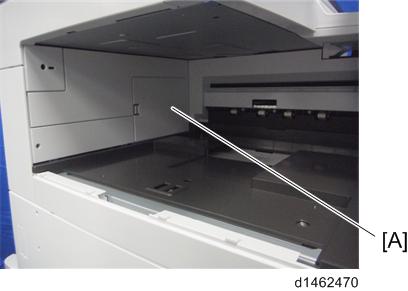
- Remove the paper exit tray [A].
- Remove the connector cover [A].
- Attach the shift tray [A].
- Remove the paper exit feeler [A].
Attach the Mylar sheets [A] at the sides of the paper exit cover.
- Make sure to attach the Mylar as shown in the photo below. This is to prevent curling when the paper lands in the tray.
- The Mylar’s top edge should be 0-2.5mm from the top edge of the paper exit cover, i.e. between the two red lines.
- The Mylar's side edge should be flush against the side of the cover, i.e. along the yellow dotted line.
- Reattach the paper exit tray and close the right door.
- Tuck in the lever [A] for detecting when the tray is full.
- Reattach the removed paper exit feeler [A].
- Do not use the lever supplied with the optional unit. Doing so may affect the stacking function.
- Turn ON the main power.
- Check that paper output to the shift tray can be selected at the operation panel, and check the operation.