- Remove the controller box. (Controller Box)
- Remove the front cover. (Front Cover)
Slightly tilt the PCB toward you and release the FFC.
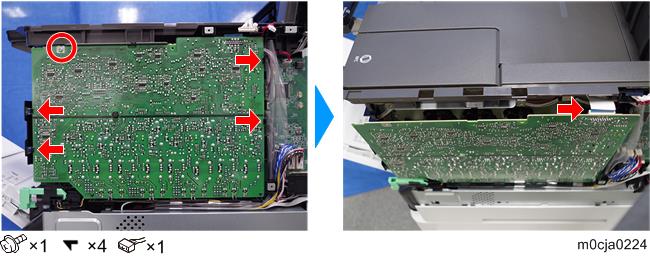
Tilt the HVP (PCB19) [A] to 90 degrees and pull it out toward you. The lower hook [B] on the PCB might break if removing it without push it down.
When reattaching the HVP (PCB19) (d), insert the lower part of the PCB into four of the lower hooks (b) and insert the left and right positioning pins (c) into the holes. Then, raise the PCB and apply two hooks each at the left and right side. After reattaching the HVP (PCB19) (d), check that it is secured with two hooks at the each left and right side and four hooks (b).
(If the hook is not fastened, the image failure might appear.)
Also, check the terminal spring (e) contacts the terminal (f). (Check from The PCB hole)
Terminal : Lower side: 12 Left side: 1