- When a finisher is connected, first remove the finisher and then proceed to step 3.
- When no finisher is connected, perform the following steps.
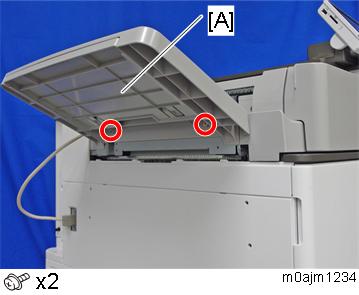
- Remove the paper exit tray [A].
- Open the front cover, and then remove the left upper cover [A].
Slide the cover in the direction of the blue arrow.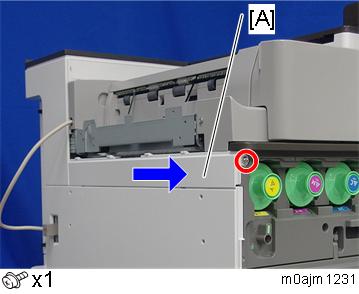
- Remove the paper exit tray [A].
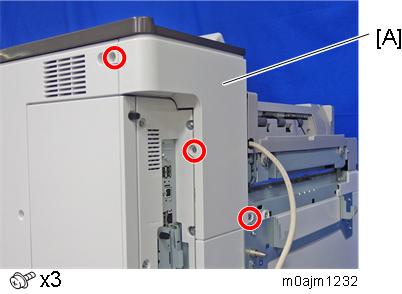
- Remove the left rear cover [A].
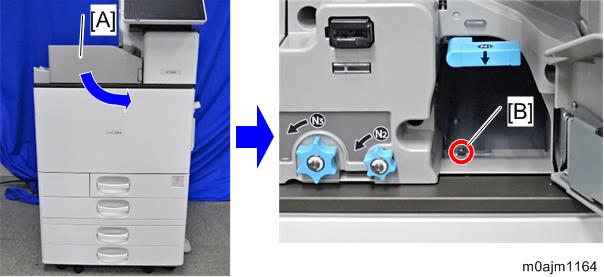
- Open the door [A] and remove the coin screw [B].
- Disconnect the connector [A].

- Remove the fixing screw [A] and bracket [B].
When removing the bracket [B], remove the top screw first, and then the bottom one.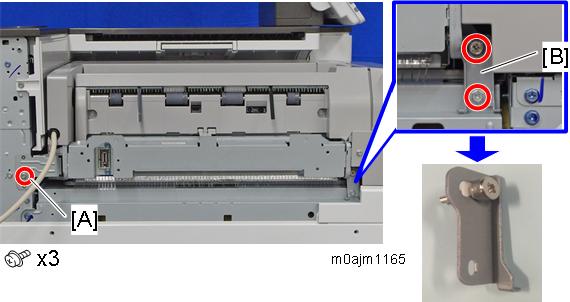
- Open the front cover of the internal multi-fold unit, and then, holding the exit tray frame [A] and the top part of the opening [B], lift the internal multi-fold unit and remove it.
Lower the lever [C] to keep the paper guide plate open during operation, because the plate might be deformed if a strong force is applied while the guide plate is closed.
Hold the metal frame part [B], not the exterior cover, to avoid damaging the cover.
Be careful not to touch the mylar sheet [D] located behind.
